
Table of Contents
How To Check Your Blog Technical SEO Yourself And Fix It
Technical SEO is the backbone of your blog’s search engine performance. Without a solid technical foundation, even the best content may struggle to rank. The good news? You don’t always need an expert—many technical SEO issues can be identified and fixed on your own. This guide walks you through a step-by-step process to audit and improve your blog’s technical SEO.
Why Technical SEO Matters For Your Blog
Search engines like Google rely on technical signals to crawl, index, and rank your content. Common issues like slow loading, broken links, or poor mobile optimization can hurt visibility. Fixing these helps:
- Improve search rankings
- Enhance user experience
- Boost crawlability and indexing
- Increase organic traffic
“Technical SEO is like building a highway for search engines—if it’s smooth, they’ll visit more often and stay longer.” — Industry Expert
Step 1: Run A Technical SEO Audit
Before fixing anything, diagnose problems using these tools:
Google Search Console (GSC)
GSC highlights indexing errors, mobile usability issues, and security problems. Check the Coverage and Enhancements reports.
Google PageSpeed Insights
Analyzes loading speed and suggests optimizations for both mobile and desktop.
Screaming Frog SEO Spider
Crawls your site to find broken links, duplicate content, and missing meta tags.
Step 2: Fix Crawling And Indexing Issues
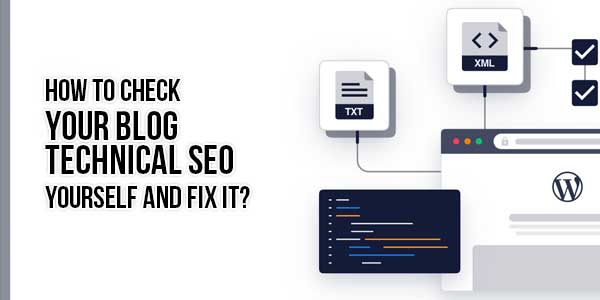
Check Robots.Txt And Sitemap
Ensure your robots.txt file isn’t blocking critical pages. Submit an updated XML sitemap via GSC.
Resolve 4XX/5XX Errors
Broken links (404 errors) frustrate users and search engines. Use Screaming Frog to find and either:
- Redirect broken URLs (301)
- Update internal links
- Restore deleted content

Step 3: Optimize Site Speed
Slow loading increases bounce rates. Key fixes:
Compress Images
Use tools like TinyPNG or ShortPixel to reduce file sizes without losing quality.
Enable Browser Caching
Add caching headers to reduce server load for repeat visitors.
Minify CSS, JavaScript, and HTML
Remove unnecessary code with plugins like Autoptimize (WordPress) or manually via tools like UglifyJS.
Step 4: Ensure Mobile-Friendliness
Google uses mobile-first indexing. Test with:
Google’s Mobile-Friendly Test
Identifies viewport, font size, or tap target issues.
Responsive Design Audit
Use Chrome DevTools (Ctrl+Shift+M) to simulate mobile devices and check for layout problems.
Step 5: Improve URL Structure And Internal Linking
Use Clean, Descriptive URLs
Example: yoursite.com/how-to-check-technical-seo instead of yoursite.com/post123?id=456.
Fix Orphaned Pages
Ensure all posts are linked internally so search engines can discover them.
Step 6: Secure Your Site With HTTPS
SSL certificates (HTTPS) are ranking factors. Check for:
- Mixed content warnings (HTTP elements on HTTPS pages)
- Expired SSL certificates
- Redirects from HTTP to HTTPS
Step 7: Monitor Structured Data And Schema Markup
Rich snippets boost CTR. Validate markup with Google’s Rich Results Test.
Common Schema Errors
- Missing required fields
- Incorrect JSON-LD formatting
- Misapplied item types
Step 8: Regularly Monitor And Maintain
Technical SEO isn’t a one-time task. Schedule monthly audits to catch new issues early.
Track Progress With Google Analytics
Monitor metrics like bounce rate, avg. session duration, and organic traffic trends.
Final Thoughts
DIY technical SEO audits save money and empower you to understand your blog’s health. Start with critical fixes (indexing, speed, mobile), then refine advanced elements (schema, security). Over time, these improvements compound, leading to higher rankings and sustainable traffic growth.


Be the first to write a comment.