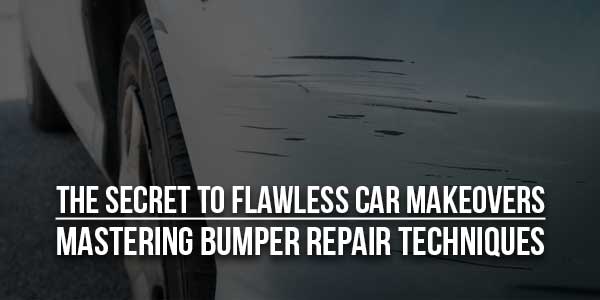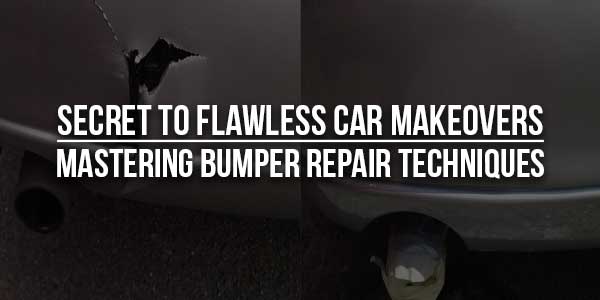
You’ve just spent six hours arguing with the salesman about the perfect car and finally drive it home. You want it to look flawless for as long as possible – it’s your pride and joy! Bumper repair is a crucial part of keeping your vehicle looking its best, but many car owners fail to understand how important it is. The good news is that mastering bumper repair techniques don’t have to be difficult – using just a few simple tips, tricks, and tools can give your ride an impressive makeover in no time! In this blog post, I’ll share insider knowledge on everything from the paint application process basics to specific requirements for different materials so that you can keep up with regular maintenance and enjoy driving around in a perfectly restored automobile.
Table of Contents
What Is Bumper Repair, And Why Is It Important For Car Makeovers?
Bumper repair is a vital aspect of car makeovers. If you’re passionate about your car’s aesthetic appeal, you’ll likely want it to look new even when accidents happen. A damaged, dented, or scratched bumper can be an eyesore and compromise your car’s safety features. Bumper repair can help restore your car’s beauty and make it roadworthy again. Experienced professionals can patch up your bumper and match it with your car’s original color. Not only does this make your car look great, but it can also eliminate rust and potentially further damage. Remember to underestimate the transformative power of bumper repair; it can make all the difference in giving your car a new look.
Tips For Preparing The Bumper For Repairs:
If you need to repair your vehicle’s bumper, it’s important to take the necessary steps to ensure a successful and long-lasting repair. Here are some tips for preparing the bumper for repairs: First, fully clean the bumper and remove any dirt or debris on the surface. This will help the repair materials adhere properly. You can use soap and water or a specialized cleaning solution. Next, sand the damaged areas of the bumper to create a smooth surface for the repair. If there are any cracks or holes, fill them in with suitable material and allow it to dry completely before moving forward with the repair. Lastly, apply a coat of primer to the surface to help the paint adhere and prevent rust from forming in the future. By following these steps, you’ll be well on your way to a successful bumper repair.
What Materials Are Needed To Repair A Bumper Effectively?
Whether you’ve been in a minor fender bender or a more serious accident, repairing your car’s bumper is essential to maintain its appearance and safety. If you’re looking to tackle the job yourself, you’ll need a few materials to do it effectively. First and foremost, you’ll need a replacement bumper cover that matches your car’s make and model. You’ll also want to gather tools such as a screwdriver, pliers, and a heat gun. You’ll need adhesive and a combination of bolts and clips to secure the cover. While the process may seem daunting initially, you can restore your car’s bumper to its original condition with the right materials and patience. So roll up your sleeves and get to work – your car will thank you!

Step-By-Step Guide On How To Repair A Bumper:
We’ve all been there – a slight fender bender or accidental scrape on our car’s bumper. Don’t fret because repairing it yourself is not as difficult as you think! With the help of a step-by-step guide, top-grade sandpaper, and a few other materials, you can get the job done smoothly and efficiently. It might even be a fun DIY project! We understand that car repairs can be stressful, but our guide will make the process stress-free and manageable, leaving you confident and pleased with the result. Let’s get started on fixing that bumper!
How To Ensure Proper Adhesives Bonding When Resurfacing Your Bumper?
Your car’s bumper is one of the most crucial parts of your vehicle, as it protects your car from damage during collisions. However, with time, your bumper may lose its dazzle. Resurfacing your bumper can restore its original charm, but it’s important to ensure proper adhesive bonding to prevent accidents. It’s always best to use adhesives specifically designed for automotive use. Clean and dry your bumper surface before applying adhesives to ensure a strong bond. If you need more certainty about resurfacing your bumper on your own, it’s always wise to seek the help of a professional mechanic. With these tips, your bumper will look brand new in no time!
Finishing Touches – Smooth Out Imperfections And Enjoy The Results:
When it comes to finishing touches, sometimes the smallest adjustments can make the biggest difference. Whether working on a DIY project or just sprucing up your living space, smoothing out imperfections can transform the overall look and feel. These steps may seem tedious, from filling in nail holes to sanding down rough edges, but the result is well worth it. Plus, once everything is perfect, you can sit back, relax, and enjoy the fruit of your labor. Why not take a few extra minutes to add those finishing touches and achieve a flawless finish?
Repairing a bumper can be a daunting task, especially for those with no prior experience or knowledge of the craft. Many important details in bumper repair require skill and focus, such as selecting the right materials, preparing the surface correctly, and ensuring proper adhesives bonding. However, if you take your time and follow the step-by-step guide carefully, you should be able to complete a successful car makeover. It may even turn out better than expected! And don’t forget to use some fine sandpaper after reinstalling the bumper to smooth out any imperfections. Once you finish this, it’s time to enjoy your hard work and proudly show off your freshly repaired bumper. As they say: practice makes perfect – now let your creativity shine through!

 About the Author:


Be the first to write a comment.