

Every Blogger posts contains images some time many images then some time image cant describe itself to that user so you have to give a hint to your user about the image that you can give it by using a caption text just below the image. Its an official practice for the webs designers thats why Blogger came up with this features inbuilt you only have to use it from now on.
A caption, also known as a cutline, is text that appears below an image. Most captions draw attention to something in the image that is not obvious, such as its relevance to the text. Captions can consist of a few words of description, or several sentences.
So now its important to use this feature of Google Blogger. Now style them up and make it clear to your user that what they are seeing. Garb the code from below and edit it as per your desire.
Table of Contents
Features:
1.) Simple Default Blogger Feature
2.) No External Code Added.
3.) Work With Cross Browsers.
4.) Simple CSS Added To Style Up.
5.) Short Coded.
How To Add Caption In Posts In Blogspot?
1.) Go To Your www.blogger.com
2.) Open Your Desire “Blog”.
3.) Create A “New Post” Or “Edit” Some One Existing.
4.) Add An Image Then Click On It.
5.) Now Choose “Add Caption” Option.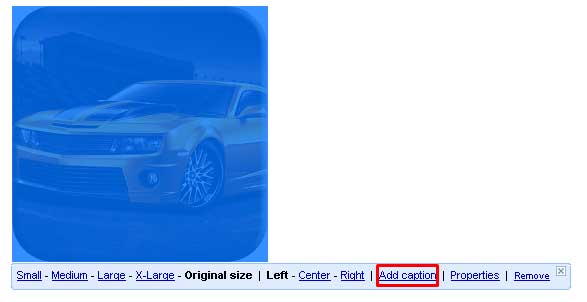
6.) Here Add Your Desired Caption.
7.) Rest If You Want To Delete It Then Again Highlight The Image And Choose “Remove Caption”.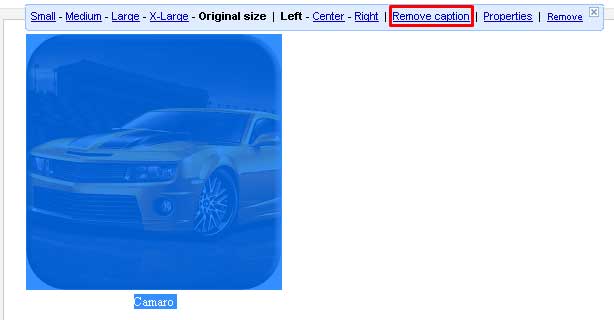
8.) You Will See The Below Style HTML Code In Your Post.
Default Blogger HTML Code:
<table cellpadding="0" cellspacing="0" class="tr-caption-container" style="margin-left: auto; margin-right: auto; text-align: center;">
<tbody>
<tr>
<td style="text-align: center;">
<a href="http://1.bp.blogspot.com/-mBnve-K8r60/V1ZyTXOPVwI/AAAAAAAAivk/v3FUlTGeXhA-51KAf7sMIAgeirZ-W5OBwCK4B/s1600/Camaro.png" imageanchor="1" style="clear: left; margin-bottom: 1em; margin-left: auto; margin-right: auto;">
<img border="0" src="https://1.bp.blogspot.com/-mBnve-K8r60/V1ZyTXOPVwI/AAAAAAAAivk/v3FUlTGeXhA-51KAf7sMIAgeirZ-W5OBwCK4B/s400/Camaro.png" />
</a>
</td>
</tr>
<tr>
<td class="tr-caption" style="text-align: center;">Camaro</td>
</tr>
</tbody>
</table>
9.) Rest Is All Done.
How To Add Caption Stylish CSS In Blogspot?
1.) Go To Your www.blogger.com
2.) Open Your Desire “Blog”.
3.) Go To “Template”.
4.) Click “Edit HTML”.
5.) Now “Click” Within Code Box.
6.) Press [CTRL+F] To Search </head> Code.
7.) Now “Copy” The Below Code And “Paste” It Before </head> Code..
8.) Click “Save Template” And Done.
CSS:
<style type="text/css">
.tr-caption-container { border: 1px solid #efefef!important; padding: 5px!important; }
.tr-caption { background: #efefef!important; padding: 2px!important; font-size: 13px!important; font-style: italic!important;}
</style>
Customization:
Change the CSS as per your desire or ask for help if you are not a pro.
Last Words:
This is what we have. If you liked it then share it with your friends and leave your comment and if you still have any quires then feel free to ask us. Thanks to be with us, will be with you on next codes. Be with us…


Be the first to write a comment.