
For people that do not want to use a professional Photoshop editor for their photo and design processing, there are a lot of worthy alternatives. One of them is using free photo editors and proofing solutions online. We are going to prove that it’s possible to make good photo edits without complex Photoshop program by creating a simple watermark in Paint.NET which is one of those editors that still can compete with Photoshop at the proper level. So, here we go.
Table of Contents
Creation Of Watermark In Paint.NET:
The watermark is put on the image (picture, design, screenshot), to indicate the copyright.
In fact, it is a translucent signature of the author (in a transparent manner) that can be placed anywhere on the image. In general, the creation of a watermark is limited to the following steps:
- Creating a file (image) of small size with a transparent basis.
- Writing text on it.
- Reduce the transparency of the text to the minimum necessary.
- Saving the file in a format supporting transparency (PNG, GIF).
After saving the image watermark can be placed on any chosen photo or image using means of any graphic editor that supports the work with layers and transparency. And it is not necessary to use such ‘serious’ or ‘heavy’ programs as Photoshop or GIMP. It is possible to manage a simple free graphic editor (for example, Paint.NET) for this purpose.
Let’s Create A Watermark On A Photo Using Paint.NET:
Step 1.) After opening the program, we see a black New image field (background) in its window. Click on the “Add a new layer” in the “Layers” and pick a Layer 2 (Transparent).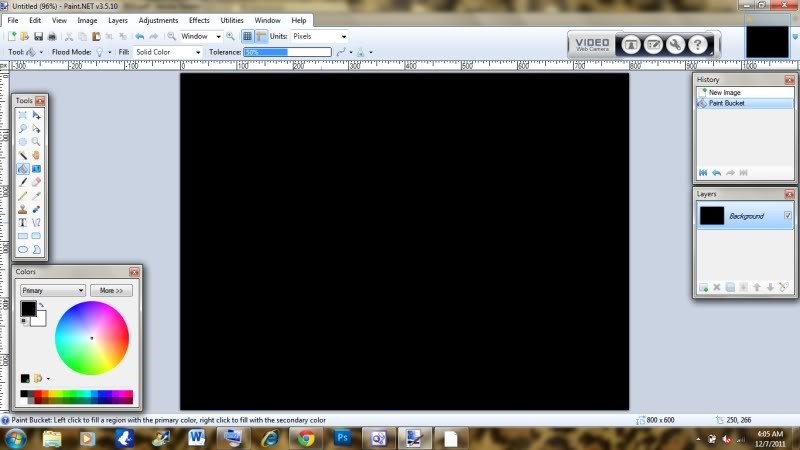
Step 2.) Click on the “Text” in the “Tools”, clicking the mouse to the desired point of the field, type the text (and, Layer 2 – active, i.e, highlighted in blue in the “Layers”).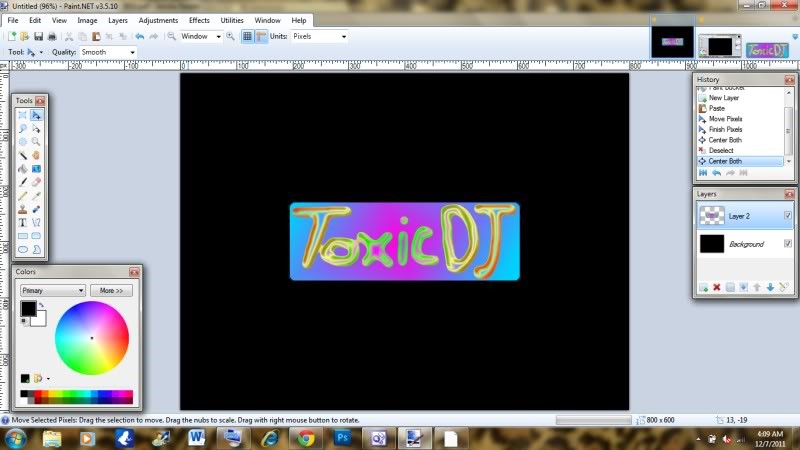
Step 3.) After that, you can pick up (change) the type font and size by clicking the appropriate drop-down list and selecting the desired parameters.
Step 4.) Then turn on Background layer (clicking on it) in the “Layers” and delete it by pressing the “Delete Layer” button (see. Figure 3).
Step 5.) Thus, we can only Layer 2, i.e, a text label on a transparent basis. Create a new layer and delete the original background layer. Press Ctrl+V to paste the image onto the canvas.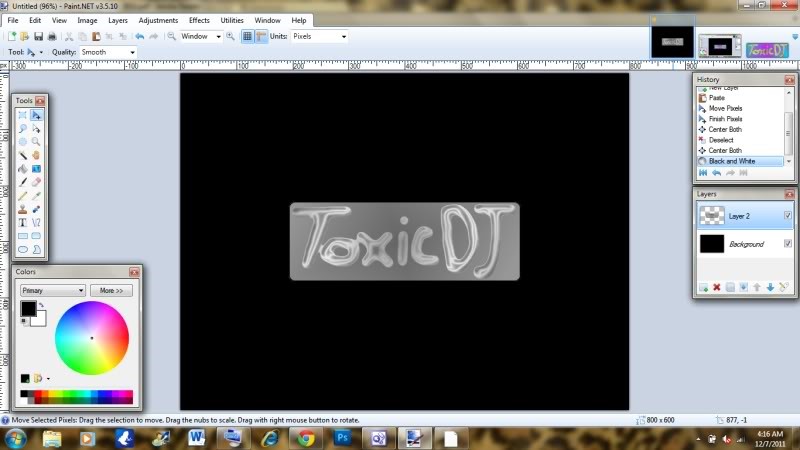
Step 6.) Now, by clicking on “Layer Properties” (the window at the bottom of the “Layers”), reduce the transparency of the text by dragging the slider transparency in the window “Layer Properties.”
This program changes the transparency of the value of 255 (fully transparent) to 0 (completely transparent). Establish, for example, the value of 120. After that, click OK closing the window.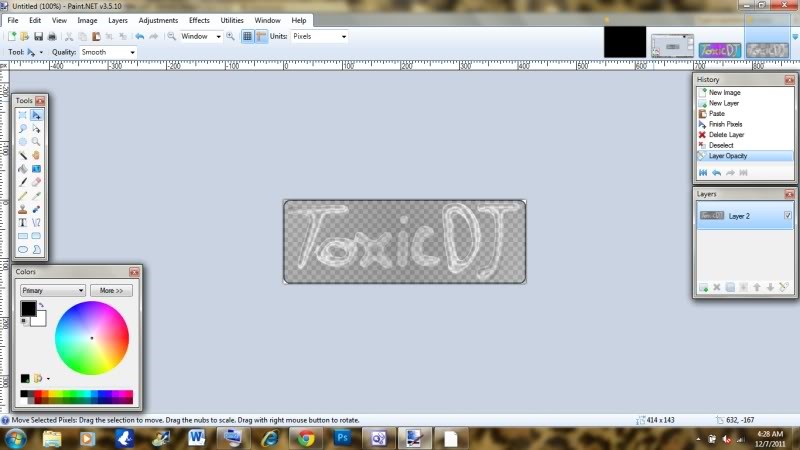
Step 7.) After that, “Save Options,” save your image as .png, and open up a new document again. Change the background to whatever you want, then go to Effects/Tool/Custom brushes mini. Click on “Add new brush” and load your image.
Step 8.) If you wish, you can move the watermark to any position on the photo by first clicking the tool “Move selection”, and then grading the area of the watermark to the desired location (eg, in the center of the photo). In addition, you can also adjust the size of the watermark (increase, decrease) for moving the “handle” in the allocation of points (in the corners or at the center of the sides).
Step 9.) Once you have decided on the location of our watermark press Enter. Isolation is removed and fixed signature. It remains only to keep our new image, i.e, photos with a watermark. To do this, press the “Save” button on the toolbar.
The window “Save as”, in which you enter the file name and file type, for example, JPEG (default is the expansion of the program Paint.NET – .pdn).
Click “Save” and then open a new “Save Options” dialog box. In it, select the quality (90-100), and click OK. Now you’ve got a signature on a photo (Watermark) in the center area of the photo. Easy as it is!
Conclusion:
Who said that it’s impossible to edit photos professionally without Photoshop, huh? No doubt, that nowadays, to become the best in photo editing is impossible without specific information, certain aptitudes and much practice. In any case, if you wanna be the best photography proofer without Photoshop learning, you can do that because of an extensive variety of free amazing photograph editors. And we’ve proved that!
Learn, dream and create. Good luck!

 About the Author:


Its really very nice information and thoughts for the person who do not work with Photoshop. Thank you so much for sharing this information here with us.
Welcome here and thanks for reading our article and sharing your view.
You have very technical stuff and it gives me information. Thank you
Welcome here and thanks for reading our article and sharing your view.
But i’ve to admit that photosop is just a great apps for photo editing. It’ll be useful if you mastered it
Welcome here and thanks for reading our article and sharing your view.
Hi,
My name is Lance Jekel I am from USA and I am a photoshop designer.I am reading your entire article, it has really helped me a lot.Really informative and helpful tips!These tips have been of great benefit to my work.I would like to get something more modern from this site.Thanks For Sharing and Keep Up the Good Work.
Welcome here and thanks for reading our article and sharing your view. This will be very helpful to us to let us motivate to provide you more awesome and valuable content from a different mind. Thanks for reading this article.